Wednesday, June 10, 2015

Make a lovely pedestal .

 A pedestal or cake stand is a lovely way to make a cake, a flower arrangement or a precious object stand out.

I made this one a using a stone vase, some wooden discs and a paper punch. Add some glue and paint and there you are .


The parts you need : one vase or similar shaped item and two wooden discs.  On the right I have shown the discs on top of each other to show the difference in size.


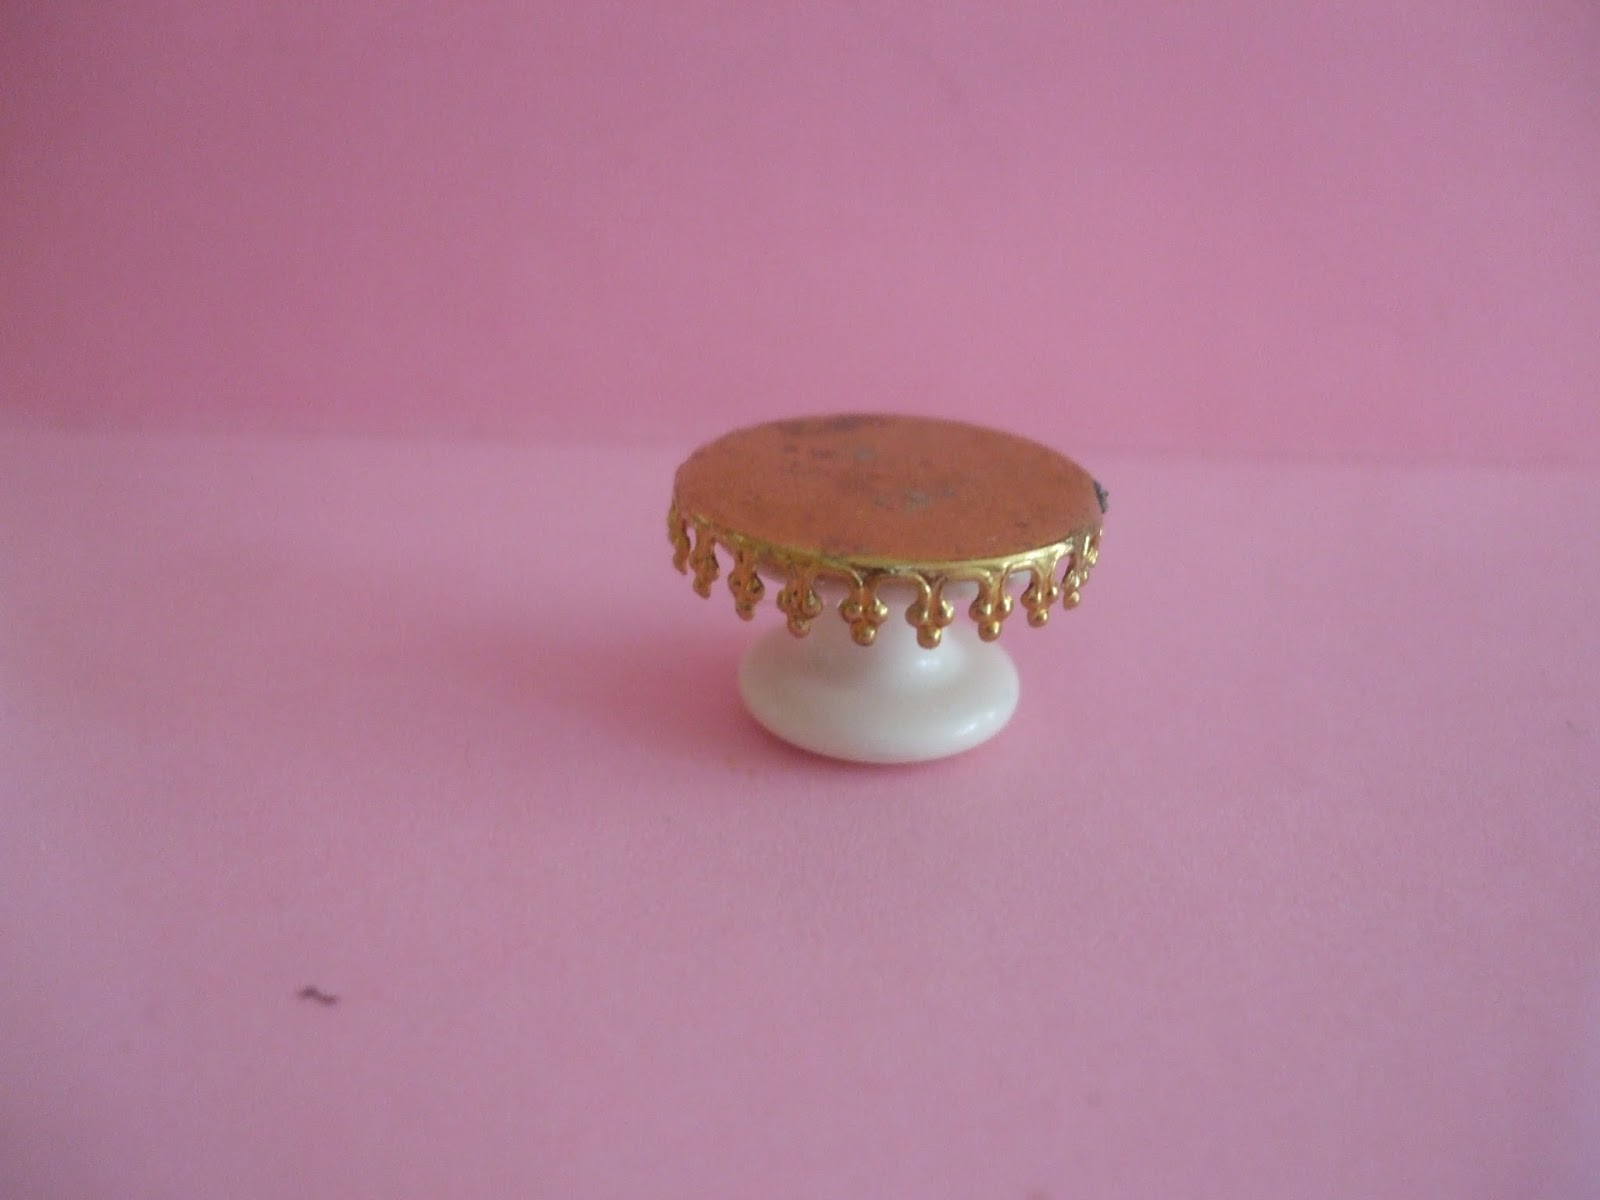
Vase being glued to the wood discs, please note the vase is used upside down so glue the bottom to the wood.


I used a paper punch to cut out several motives. I used the curly shape at the bottom and the flower in the middle.


Curly things glued to the wood and tiny flowers added upside down.


Beginning to  look   a bit better after a coat of primer.

Painted black with a little bit of silver eye shadow rubbed over it.


The dome is a plastic bottle cap. I glued a metal plate to the top , once again upside down. The ornament on top is the lid of a  kettle .  I only had the lid and the kettle has been missing for ages. But I think it looks just right here. Painted it black and rubbed on some silver eye shadow  again. You can replace the lid with a bead or jewelry finding.
Two variations made in the same way . The second dome has a glass button and a stick on  gem stone on top.

I love the mummy head in the dome....

Saturday, May 30, 2015

Cake stands


If you have a box full of bits and pieces  and want to have some fun with them, try making some cake stands. They are fun and easy to do and they can fit into many of your projects.


 Here is linen button and a jewelry finding  combined into a cake stand. How easy is that ?


I don't want to make you hungry right away so I did not add a cake but some flowers.


Even easier :  a small plate , a mug placed upside down on top of it and a saucer to finish it off. Voila a cake stand for one.


This time I added some of my no clay cakes.


Two matching plates and a glass also work very well. You can use a clear glass of course and use different sizes of plates 


A metal plate combined with a metal thingy. I really have no clue what it is, but it was in my box and it worked very well with the plate.


Does not it look classy with a dome and some fruit added to it ?


Next time I will tell you all about making more stands and the domes as well.


Thursday, May 21, 2015

Making jelly puddings

I love jelly puddings  in full scale as well as in miniature. I tried making some in different techniques. Some melted, some got sticky and changed into dust magnets so I was not happy.

But I have now found the perfect ingredients : cut glass buttons and glass paint.

So easy to do , so nice to decorate as well. The only thing that is missing is the wobble . But because they will be standing on a table anyway I can live with that bit.


Step 1 : Place glass button upside down. It may help to do this on a piece of something sticky. Paint with glass paint. I love the window colors by Plaid.  You may need more than one coat. 

Step 2 : Dried pudding on the left. Decorated putting on the right. I used dimensional snow paint for the cream , no hole beads and plastic leaves. 


Some I did earlier decorated with paper leaves, flowers, no hole beads etc. Yummie right ? 


Thursday, May 14, 2015

Making chenille stem bears


What you will need :
Chenille stems. Go for the  nice fluffie ones 
Tweezers
Tacky glue
Small scissors.
Beads for eyes 


Step 1. Cut a  piece of chenille long enough  to make the  head  and  the body. This decides the size of your bear. I used 10 cm folded in half for a really small bear.


Step 2.  Fold over at the folded end of your chenille and bend top forward for nose.  You can make this bigger or smaller to change the faces of the bears  you are making.


Step 3: Cut a small piece of chenille to make the ears.  Roll up both  ends to shape the ears. The bigger you cut this piece, the bigger the ears will be. Slip ears under the fold we made in step 2. Check for size. I usually add a bit of glue to keep the ears in place.


This is what your bear should look like now.


Step 4 :  Measure  a piece of chenille for the arms. It is up to you to decide how long you want the arms.  Cut a piece twice as long  as the length of the arms. 


Twist ends together into a loop, and fold in half.  Try on bear for size. The twisted end is at the bottom. This will help to add a little bit of volume to Teddies finished body.
 Step 5 : Repeat step 4 for the legs but make them  a bit longer.
They  are placed on the body with the twisted  bit  pointing upwards.


Step 5 : Fold the body parts that  are still showing under the legs upwards to finish the body  and to keep arms and legs in place.  You can once again add a little bit of glue to make sure everything stays in place .


Step 6 : Shape arms and legs by pinching and folding till you are happy with your basic bear.


Now it is time for some beauty treatments :


At the spots were the chenille has been folded over,  you will  notice  the wire inside the chenille showing.  In the photo above you will notice this at the tip of the nose and the front of the feeth and and the hands.
Covering up this spots will make your bear look more professional.


With small sharp scissors cut some chenille away from the wire.  Make sure you do this over a container or it will be everywhere.


Apply a little tacky glue  to the spot you want to cover 


Carefully add a little bit of the lose chenille and leave to dry.


Bear with finished nose job on the left , his brother on the right is the next in line for the makeover.

If you want your bears to look even better you can add chenille to other areas that need to look a bit better in the same way.  Often a bit added to the belly area or the ears will really work well. But it is all up to you for it is your creation.


Trying eyes and nose for shape and placement. 


Now you can shape your bear and add details. A little bit of blusher added to the inside of the ears and the soles of feet and hands adds a nice touch. 

Little bows, sweaters and accessories etc will hide a multitude of sins and will add character to your little bears.


 This is my basic bear. The ones I make to sell get a bit more work done to them but I am keeping a few little secrets between me and the bears .


If you would like to adopt one of my  little friends, feel free to contact me.


Thursday, May 7, 2015

Salad tips and ideas , sharing my article in American Miniaturist.


Here are my tips for making salad greens and other ingredients.  I did not make anything out of fimo but I did use some slices of Fimo canes : tomatoes and oranges .

All the other things are made using other ingredients : drinking straws for oinion rings, erasers for cheese and ham, craft foam for egg end carrot slice and so ont. The lettuce is made from different materials : plastic artificiaal snow , plastic bags and floral tape.

Hope you will  enjou them .