For those who have never heard about a cradle purse, it is a little purse that holds a doll when closed, and when it is open, it is a little cradle for the doll. They are usually made for full scale girls but this is the pattern I did for my doll.
When I was much younger my mother and I used to make these little purses for the annual charity crafts fair in our village. I have no idea where the pattern came from but I seem to remember they were a big hit.
A while ago I was talking to an elderly lady who told me how much fun she had with hers when she was a little girl . She was very surprised that I knew about them for she had never met any person who knew what she meant by a cradle purse
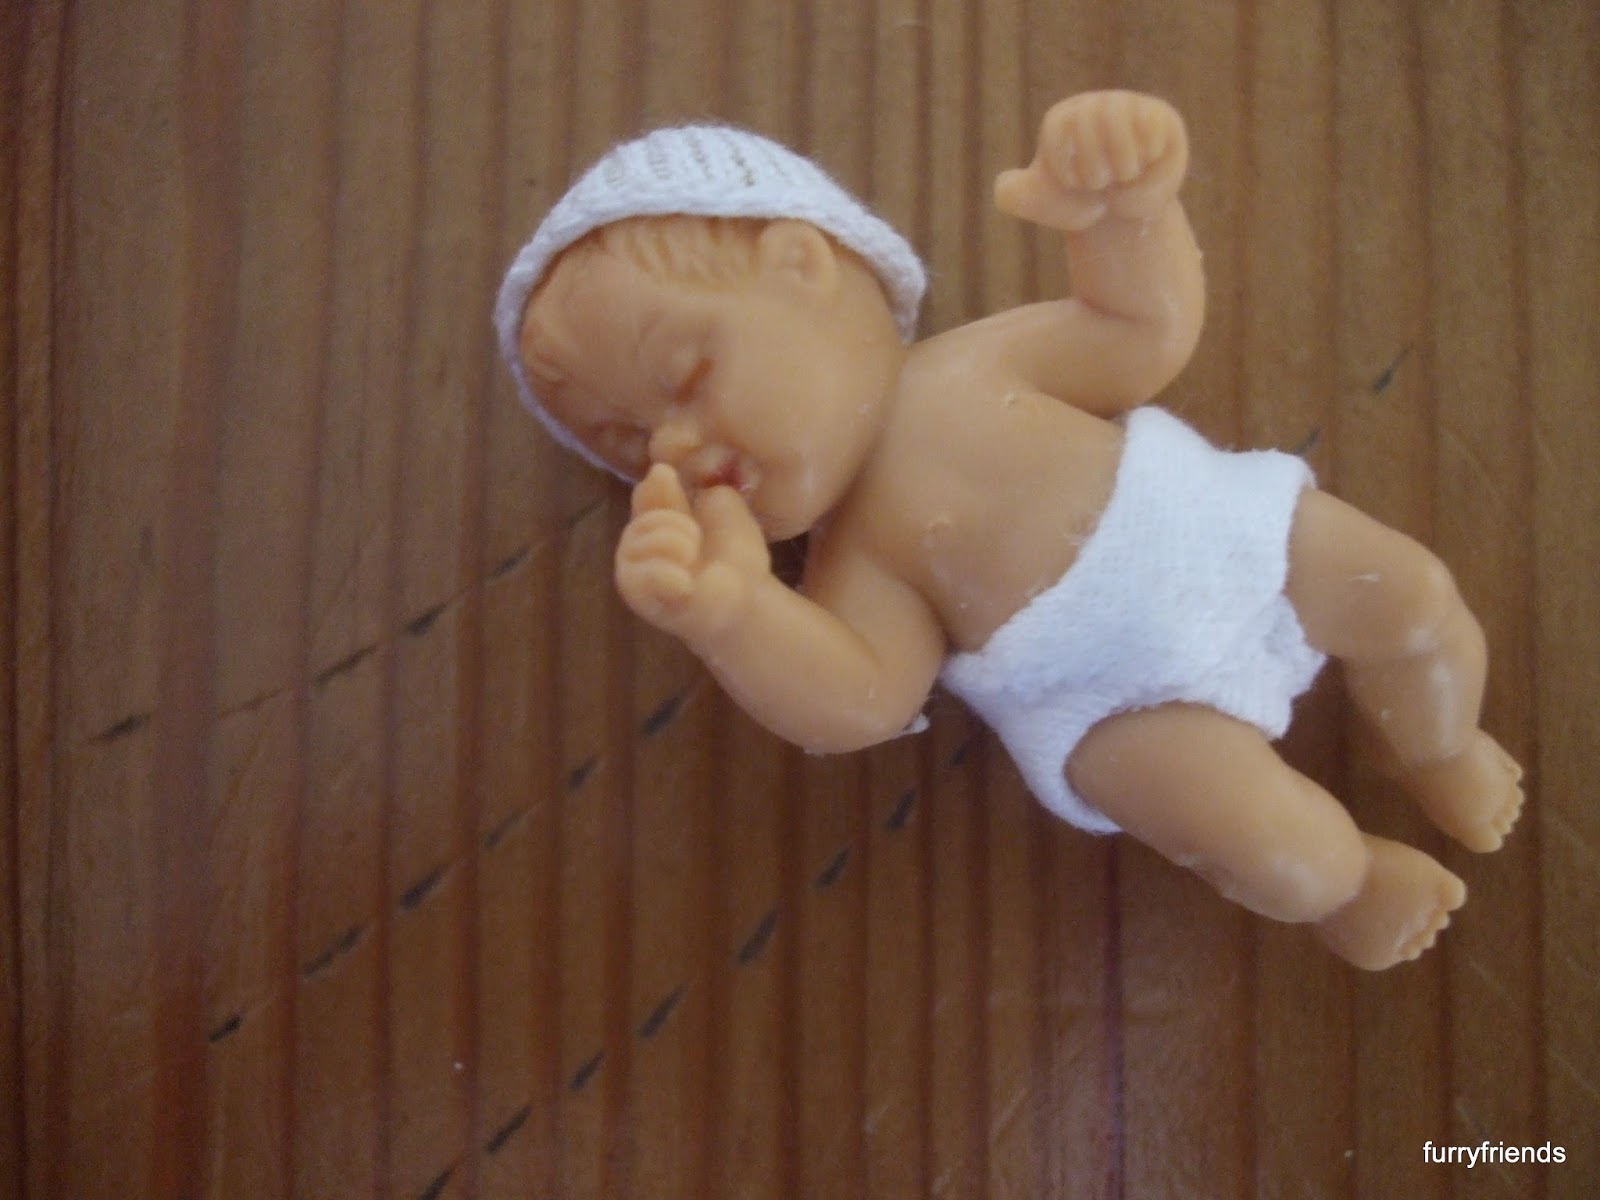
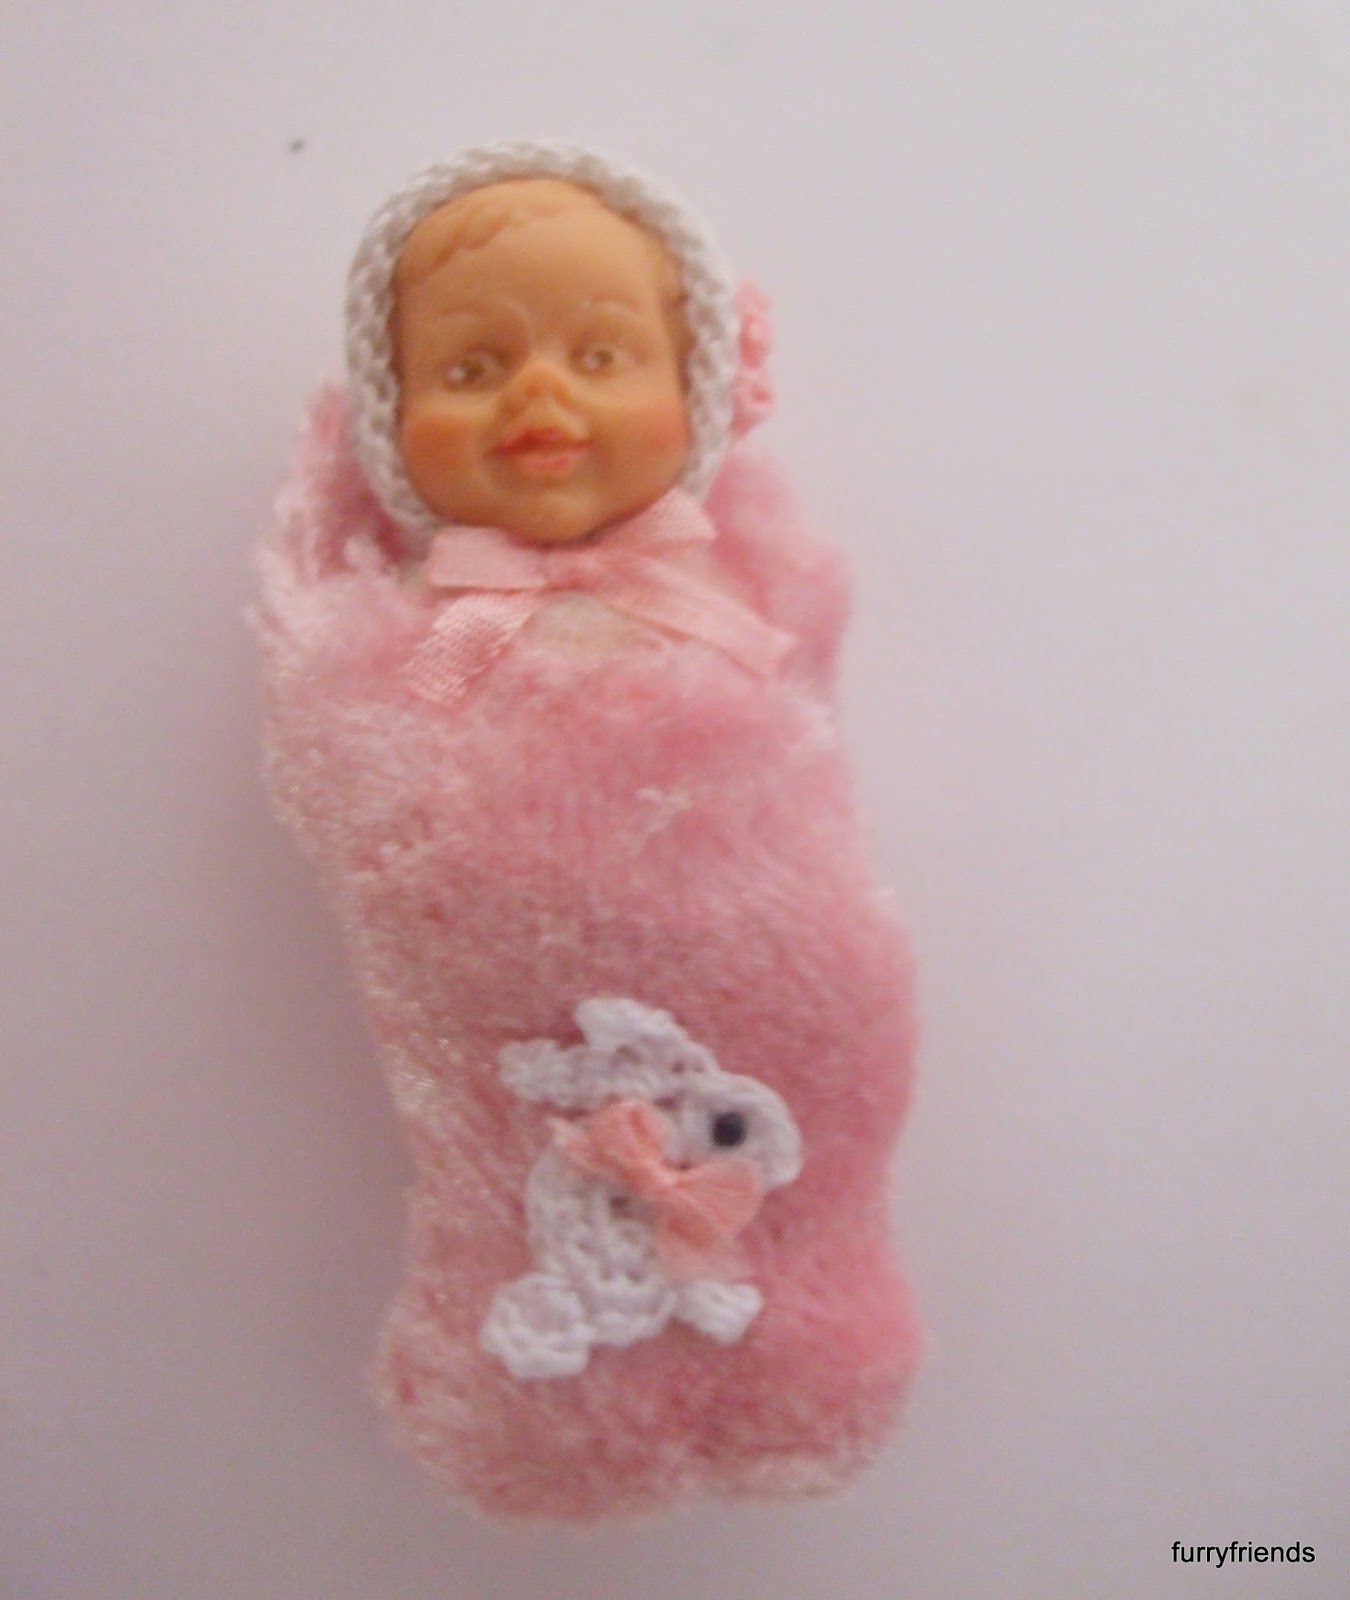
. She asked if I did have a pattern for her so I tried good old Google and found several patterns. I translated one into Dutch for her and while I was at it I decided to try and make one in 12 the scale just for fun and because of the nice memories. I had to redesign most of the pattern but I think the result is a really nice gift to make for a little girl in 12 th scale. The baby inside the purse is about 1 inch tall.
This picture shows the purses open and closed.
When I was trying Google I found that another name for the purse is Church Purse because they were given to little girls to keep them quiet in Church. Gosh that would have been so much better than just trying to stay awake ! Another name I found was Bassinet Purse. But I am sticking to cradle purse because that is the name that comes closest to the Dutch name : wiegtasje.
What you will need :
0,60 crochet hook
I used DMC tatting thread in two shades of pink for one purse and for the other two shades of blue. The purse looks best when done in two colors.
For making up : a needle and some Fray Check or Tacky Glue.
A little doll to fit into the finished purse.
You start at the bottom of the cradle. You will work in rounds, some rounds are closed , some are not so read the instructions carefully.
Chain 21 in your main color.
Round 1 : dc in the 3 rd chain from the hook, 1 dc in each chain till you reach the last chain : 4 dc in this chain, work on other side of the chain working 1 dc in each chain and 3 dc in the last chain. Close the round with a slip st.
Round 2 : Chain 1 , sc in every st around. Do not close this round.
Round 3 -6 : Repeat round 2.
Round 7 : Repeat round 2 but close this round.
Round 8 : Chain 1 . work 1 sc in each st around but use only the back loop( at the top of your crochet there are two loops, only use the one furthest away from you) .Close the round and finish off, cut thread.
For the Hood :
Change to your other color.
Fold the cradle in ½ , count 10 sts to the left and put a marker.( you can use a piece of thread or a safety pin) . From the middle again also count 10 sts to the right and mark also. The hood is worked in rows.
Row 1 : Attach thread and work a slip st. into the first mark, work 1sc in each of the next 3 sts, work 1 dc in each of the next 12 sts, work 1 sc in each of the next 3 sts and a slip st. in the next st . and you should now have arrived at the other marker.
Row 2 : Chain 1 , turn. Skip slip st. , work 1 s c in next 3 sts, work 1 dc in next 10 sts, work 3 sc in next 3 sts and work 1 slip st.
Row 3. Chain 1, turn. Skip slip st., work 1 sc in next 3 sts, work 1 sc in next 8 sts, work 1 sc in next 3 sts and finish row with a slip st.
Row 4 : chain 1, turn. Skip slip st. and work 1 sc across the row end with a slip st. Finish off and cut thread.
The cradle skirt :
Change to main color again . Hold the cradle with the hood downward and attach the thread to round 8 of the cradle. Work in the unused back loops of round 8.
Round 1 : Chain 4, dc in the same loop, ( 1 dc, chain 1, 1 dc) in each loop till end of round , close round.
Round 2 : Slip st. into next 1 chain space, chain 4 , dc in the same space , ( 1 dc, chain 1, 1 dc) in each chain 1 space till end of round and close round. Finish off and cut thread.
Round 3: Change to other color and repeat round 2.
Finish off and cut thread. Weave in all lose threads.
For the two draw strings : chain 40 – 60 for each draw string depending on the size of the doll who will be playing with the purse and weather you want a long shoulder strap or not. Weave through round 3 of the skirt and tie ends together. For extra security apply a little Tacky glue or Fray check to the knots and cut off excess thread.
Hope you will love your little cradle purse.