Thursday, October 27, 2016

Old clock into old world christmas part 2 .


Working on the top floor of the shop.


 My first plan was to create a room for the baker 's family but for the life of me I could not figure out how to make a room in the shallow space. I needed to work inside the frame of the old clock which gave me about an inch depth  or build something behind it which would mean it could no longer hang on the wall. In the end I decided I would use another box frame but have it behind the window  inside the clock frame and fill it with 3D decoupage .


This is where I had to fit the box frame for the upstairs part.


 I could not find a picture of a living room or a kitchen but I did find this great one where you look into an artists studio through a window. This one is also  done by Anton Pieck. Perhaps this is showing him at work. I loved how this picture matched into my scene.


 I printed several copies of the picture. I used one picture against the back of the box frame and then cut  out details like the stove and the lamp  and with double sided sticky foam I glued them to the basic picture. Which really made the room come alive. Tried it behind the window  and then  put it in a safe place to wait its turn.


Cut out parts ready to be applied with foam tape.


Extra layers being added to the picture.


Trying to show the layered effect.


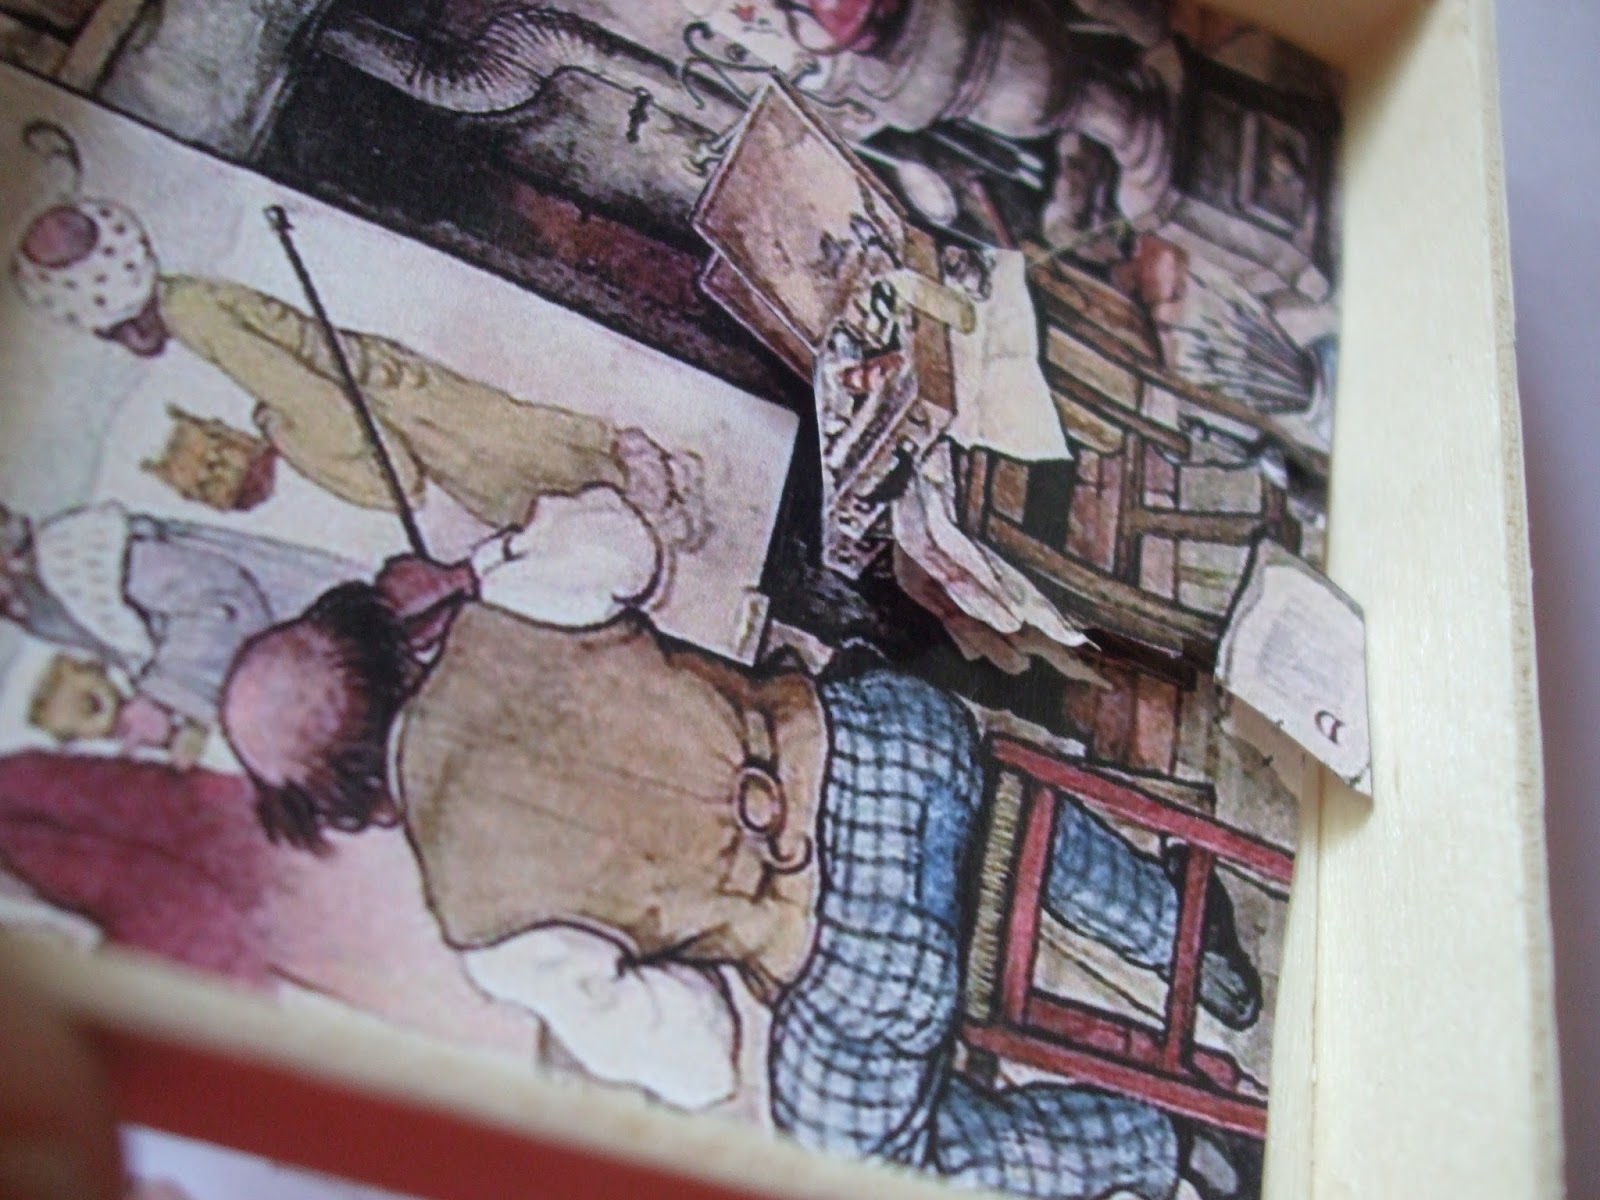
  Working from the inside of the    building  I added the glass for the window  into the hole that was already there  and behind the glass I added some details cut out  of another print of the picture like the cat, vase etc. They are  supposedly sitting  on the window sill   and  this gave the room more depth . Then behind the glass I added the box frame

 Do not forget to paint the sides
  of the box frame  that are not covered   in a color that matches your room or it will look odd

.  I made a window frame that I glued on the outside of the building  to cover a multitude of sins  and I was pretty happy with the result.


The next thing I did was finishing all the paint work. I mostly used dark browns , dry brushed with black.

The  frost  on the windows was done with Mod Podge. I used  a  small brush and  the smallest amount of Mod Podge to add this effect. I added a little bit of fluffy plastic snow  to give the impression that it had just started to snow.

The shop sign was also done in 3D decoupage and I also  used some tiny buns made out of foamboard.

My finishing touch  will be  to add  a street sign saying Anton  Pieck Street as a thank you to  him for the inspiration. The street on the other side of the building will be Charles Dickens Road for I want  to thank him too  for his part in this Anglo-Dutch project .


Tuesday, October 25, 2016

Pull along toys

Here is my little friend Eric surrounded by the pull along toys I made for him.

I found all the animals at the thrift shop.  Birds ( Ornaments?) , wooden elephants and some others.

To turn them into toys you will need : 
Piece of thin wood for the animals to stand on.
Wire and press studs for the wheels
A small ring ( optional)
Piece of thread.
Tacky glue.

For the elephants you will also need :
Grey paint
Grey flocking
Small piece of paper.
Beads for eyes. 


Birds mounted on their wood bases.


What I used to make the wheels. You can use wire instead of the paperclips but I liked the size of them.   If you like you can paint the press studs.


Wheels and ring added to base.


Finished .


The elephants were looking nasty. They had been painted but most of the paint had been scraped off. So I decided to make them into furry critters .

The first thing to do is to give your elephant a nice thick coat of grey paint. Then cut two ears out of the paper and glue them to the elephant .

Paint the whole elephant again and  as soon as soon as you have finished the painting,  drop the elephant  into the grey flocking.  Have the container with the flocking ready and as soon as the elephant is inside give it a good shake. This will  make the flocking stick to your elephant


You may have to repeat the painting and flocking to give him a nice coat.
 When he is finished poke a bit of a  hole in the fur where the eyes are to go and glue the beads in place.

Mount to the wood base and add wheels as you did for the other toys.

Lady bug does not have the wood base. I just added the wire and wheels to the body because it was flat.